Full Metal Kaiju Hunters Otachi — Kaiju Profile
The first serious badge wall — read the grab wind-up, sidestep the tail, and earn the public tracker clear.
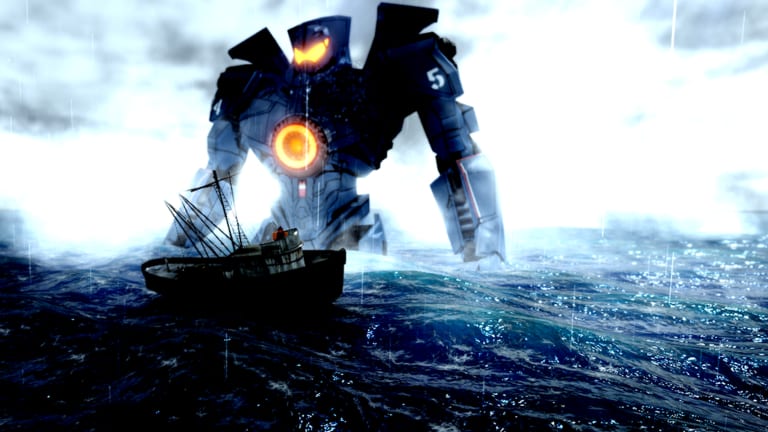
Otachi is the first serious badge wall many pilots hit in Full Metal Kaiju Hunters. Public badge trackers list Defeat Otachi with a 4.1% win rate and 4,569 awarded as of Aug 2026, plus a created/updated window around one day old. The badge description is simple — “You defeated Otachi!” — but earning it requires the discipline to handle reach, grabs, and shove displacement.
This profile expands the Kaiju Roster entry into an Otachi-only playbook. Pair it with Defeat Otachi Badge for the badge-specific attempt loop, How to Beat Bosses for the broader boss pattern library, and Combat Controls for the lateral-dodge drills that make Otachi survivable.
What Otachi actually does
Otachi is less about a single perfect burst and more about not dying to grabs. The three core reads:
- Grab wind-up. Longer animation, distinct audio cue, often preceded by a pause. Block or sidestep; do not greed swing through it.
- Tail and sweep arcs. Wide hitboxes that punish backpedaling. Step sideways along the arc, not away from Otachi in a straight line.
- Shove displacement. Knockback that sends you into rubble or off your punish lane. This is where Mag Lock Anchors earn their slot.
If you only practice one skill for Otachi, make it lateral dodges. Otachi is the exam for pilots who learned block on Knifehead but never learned spacing on a mobile Category threat.
Where Otachi appears and how it changes your prep
Otachi appears in mid-pressure theaters and as a named exam boss. Confirmed appearances include city maps like Hong Kong and Neo Tokyo, pressure maps like Mega Tokyo and Siberia, and dedicated exam spawns in The Breach and Pacific Ocean.
- Hong Kong / Neo Tokyo — Otachi appears at mid-tier frequency. Practice the lateral dodges here before attempting the badge.
- Mega Tokyo / Siberia — pressure theaters where Otachi teaches you to hold equipment for named windows.
- The Breach — exam-room Otachi; bring a kit validated on city maps first.
- Pacific Ocean — endurance version; Otachi’s chip damage stacks up over a longer fight.
Full place-by-place roles are on Maps and Missions. For map-specific loadouts, see the Hong Kong Map Guide and Pacific Ocean Map Guide.
Equipment checklist for Otachi attempts
Otachi rewards equipment sequencing tuned to named windows:
- Nuclear Air Strike — Hold for the longest exposed stand after Otachi commits, not for the opener.
- Bunker Buster — Stubborn grounded / armor-feeling windows.
- Attack Helicopter — Safe pressure while rebuilding spacing after a bad dodge.
- Strafing Runs — Lane damage on committed charge paths.
- B2 / B1 bombers — Rotation control when Otachi forces you across the map.
Full equipment pairing lives on Equipment Loadouts. When you tweak perk timing, run a Workshop pass first via Maps and Missions.
Perks that pay off against Otachi
- Mag Lock Anchors — Cut knockback so a misread shove does not end the run.
- Enhanced Stabilizers — Faster recovery after heavy hits.
- Titanium Ribbing — Limb damage insurance when chip ends runs early.
Detailed perk logic is on Perks and Upgrades.
Best Jaegers for Otachi
There is no single honest best Jaeger for Otachi during alpha. Use role fit instead:
- Obsidian Fury — Stylish aggression with mobility to re-enter after dodges.
- November Ajax — Practice frame when consistency matters more than prestige flexing.
- Cherno Alpha — Slower repositioning but stagger resistance during trades.
- Midnight Winter — Fast bleed play when dodge discipline is already clean.
- Saber Athena / Apex — For pilots who already understand equipment sequencing.
Pick the Jaeger you can pilot during the ugly second minute — when Otachi’s reach is loudest. Rank your mains on Best Jaegers and the Tier List before assuming you need an Apex.
Common Otachi failures
- Backward dodging into clutter.
- Ignoring lateral exits and continuing to backpedal on every attack.
- Changing too much after every loss. Keep one setup for at least two focused attempts.
- Under-prepping perks and blaming the kit when chip ends the run.
Each of these is a discipline gap, not a kit gap. Return to Combat Controls when lateral dodges stop feeling automatic.
Attempt loop and patch day notes
Warm up on a familiar city map, run one Otachi attempt, record the failure in one sentence, adjust only one variable, then run a second attempt. After two wipes, leave and farm or practice sidesteps. Tilt runs teach panic backward dodges. Focused runs teach lateral exits.
When Tragic Works Discord mentions a 1.1b-era weapon or VFX change, do not assume Otachi feels the same. Skim the Discord post, spend five minutes in the Workshop with the same Jaeger and the same equipment, run one short city clear to confirm feel, and only then commit to a longer Otachi attempt loop. For broader patch context, see Updates and Version 1.1b.
Related reading
- Kaiju Roster — every named kaiju at a glance
- Defeat Otachi Badge — badge-specific attempt loop
- How to Beat Bosses — broader boss pattern guide
- Combat Controls — lateral exits and block timing
- Equipment Loadouts — equipment pairing for Otachi windows
- Perks and Upgrades — perk bias for Otachi
Otachi is not the hardest kaiju. Otachi is the kaiju that proves your hands can read grab telegraphs and your loadout can survive displacement. Bank that lesson before chasing Slattern.
Frequently Asked Questions
Quick answers to the most common questions.
What is the Defeat Otachi Badge in Full Metal Kaiju Hunters?
The badge for defeating Otachi. Public trackers show about 4.1% win rate and 4,569 awarded as of Aug 2026, with a recent created/updated window.
Why is Otachi harder than early kaiju?
Otachi combines long reach with grab and shove telegraphs that punish backward dodging and autopilot melee greed.
Do I need Mag Lock Anchors for Otachi?
Strongly recommended. Anchors cut knockback and displacement so misreads do not instantly end the run.
Should I fight Otachi before Slattern?
Yes. Otachi is the mobility and grab-read stepping stone before the Category 5 endurance checks.
What causes most Otachi badge failures?
Backward dodging into clutter, ignoring lateral exits, early equipment dumps, and under-prepared DNA or perk boards.