Full Metal Kaiju Hunters Bonespur
The spike-rush brawler kaiju in Full Metal Kaiju Hunters — bone shard arena denial, charge patterns, and how to survive the lingering ground zones.
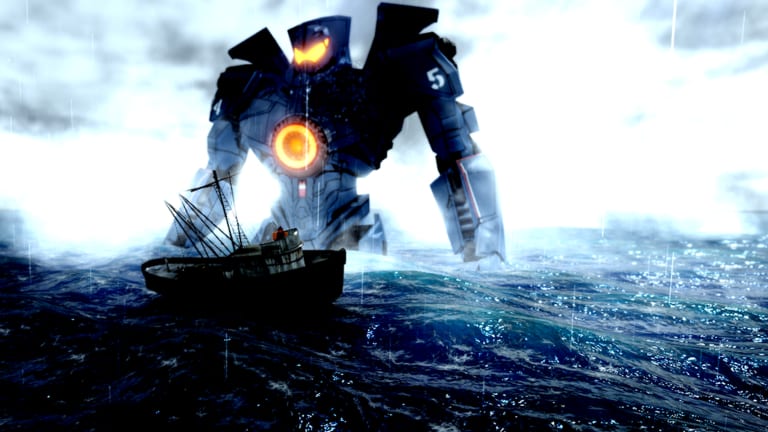
Bonespur is one of the four new boss-tier kaiju introduced in the v1.1b August 2026 update for Full Metal Kaiju Hunters. It is classified as a spike-rush brawler archetype — a close-range pressure fighter that fills the arena with persistent bone shard hazards while charging through player positions. Unlike the existing kaiju roster (Otachi grabs, Leatherback body checks, Raiju speed strikes), Bonespur creates a dynamic arena hazard layer that changes how pilots must navigate every encounter.
This profile covers Bonespur’s combat archetype, attack patterns, recommended Jaeger and loadout choices, and a solo approach for the v1.1b badge if one is introduced.
Combat archetype
Bonespur operates as an arena-control brawler. Its core threat is not raw damage per hit but the cumulative pressure of bone shards that linger on the field after each charge attack. As the fight progresses, the playable space shrinks. Pilots who ignore the shard zones find themselves trapped by their own positioning mistakes.
Primary threat: Arena denial through persistent ground hazards Secondary threat: Charge rushes that punish standing still ** Tertiary threat:** Spike collision damage during the charge animation
Attack patterns
Charge Rush
Bonespur telegraphs a charge by lowering its stance, then rushes across the arena in a straight or slightly arcing line. Bone shards are dropped along the entire charge path.
- Counter: Lateral dodge (not backpedal) — exit perpendicular to the charge direction
- Hazard note: The charge path becomes a shard zone after the attack
Bone Shard Barrage
Bonespur raises its spines and fires multiple bone shards in a spread pattern. The shards embed in the ground and persist for several seconds.
- Counter: Forward dodge through the gap between shard clusters
- Hazard note: Shards form a temporary barrier that can trap pilots against arena walls
Spike Eruption
Bonespur slams the ground and causes spikes to erupt in a radius around it. This is the most punishing pattern if you are trapped in a shard zone.
- Counter: Mag Lock Anchors or Enforcer tool to create distance before the slam lands
- Hazard note: The eruption zone overlaps with existing shard zones, making trapped pilots vulnerable
Recommended Jaeger choices
Cherno Alpha — The stagger resistance handles Bonespur’s pressure well. Tesla Fist burst during charge recovery windows. Mag Lock Anchors are essential for eruption survival.
Saber Athena — Faster mobility lets pilots navigate shard zones more effectively. The dodge windows on Saber Athena’s kit match Bonespur’s charge rhythm.
Obsidian Fury — Aggressive frame that can pressure Bonespur during its recovery windows. Works best when the pilot is comfortable reading the charge telegraph.
Avoid: Frames with slow turn speed against a brawler that rewards positioning discipline.
Recommended loadout
- Primary equipment: Nuclear Air Strike for burst damage during Bonespur’s recovery after charge attacks
- Secondary equipment: Strafing Runs to deal damage while maintaining lateral distance
- Perks: Mag Lock Anchors (mandatory for eruption survival), Enhanced Stabilizers, Titanium Ribbing
- Weapons: Any kit with reliable mid-range pressure — Enforcer or Tesla Fist preferred
Solo strategy outline
- Map the shard zones early — in the first 10 seconds, identify where bone shards are and do not stand in them
- Never let Bonespur pin you to a wall — use Mag Lock Anchors proactively to escape shard-zone corners
- Punish the charge recovery — after each charge, Bonespur has a 2-3 second recovery window; this is your safest burst opportunity
- Save Nuclear Air Strike for the eruption — when spikes are about to erupt, the Nuclear Air Strike interrupt can reduce the damage window
- Track the shard accumulation — if the arena is too cluttered, disengage and reset rather than fighting in a hazard soup
Cross-links
- New Bosses Update — context for Bonespur in v1.1b
- Kaiju Roster — full monster reference
- How to Beat Bosses — general boss patterns
- Loadout Planner — equipment priorities
FAQ
What makes Bonespur different from other brawler kaiju like Leatherback? Leatherback uses body checks and shove displacement. Bonespur uses persistent ground hazards (bone shards) that accumulate over time, forcing pilots to navigate a shrinking arena. Leatherback punishes mistimed aggression; Bonespur punishes positional carelessness.
Is Bonespur soloable? Yes, with the right Jaeger and loadout. Mag Lock Anchors is the critical perk for eruption survival. Cherno Alpha or Saber Athena are the most forgiving frames for solo attempts.
What is the hardest part of the Bonespur fight? Managing shard accumulation. Each charge and barrage adds hazards to the arena. The fight gets progressively harder if you do not clear or avoid the zones. Disengaging to reset positioning is often smarter than staying in a cluttered arena.
Does the v1.1b update change Bonespur’s behavior? Bonespur is new to v1.1b. There is no pre-v1.1b baseline to compare. Verify exact damage values and telegraph timings in Tragic Works Discord after the update drops.
Frequently Asked Questions
Quick answers to the most common questions.
What makes Bonespur different from other brawler kaiju?
Bonespur uses persistent ground hazards (bone shards) that accumulate over time, shrinking the arena. Leatherback punishes mistimed aggression; Bonespur punishes positional carelessness.
Is Bonespur soloable?
Yes, with Mag Lock Anchors, a durable frame like Cherno Alpha, and careful shard zone management. Saber Athena is also forgiving for its dodge windows.
What is the hardest part of the Bonespur fight?
Managing shard accumulation. Each charge and barrage adds hazards. Disengaging to reset positioning is often smarter than fighting in a cluttered arena.
Does v1.1b change Bonespur's behavior?
Bonespur is new to v1.1b. There is no pre-update baseline. Verify values in Tragic Works Discord after the update.